Your moisture meter says “dry,” but the pot still feels heavy. Should you water anyway?
Check the tool and the mix before adding water. A meter reading is one clue. Use the directions for that model, compare the reading with another suitable check, and match the result to your plant's watering needs.
A number on a dial cannot tell you how much water to pour. It also cannot tell you why a plant looks unwell.
First, find the instructions for your tool
Look for the brand and model on the tool or its packaging. Find out which growing media it can read, how far to insert it, how long to wait, and whether it stays in the pot. Potting mix is the material around the roots, often called potting soil.
Two tools sold for moisture checks may work quite differently:
- A removable probe meter takes a reading, then comes out. For example, the Luster Leaf Rapitest 1820 instructions call for at least two readings and wiping the probe between them. Its 1–10 scale indicates increasing moisture; a reading of 4 does not mean the mix contains 4 percent water.
- A leave-in color indicator is designed to stay in place. SUStee uses a water-wicking core and an indicator that changes between blue and white. Its manufacturer's instructions include insertion marks and a response delay that varies with size and mix. Do not use the remove-and-wipe routine for this kind of indicator.
These are examples of different instructions, not a shared watering scale. A number or color from one tool does not give you a target for another. Learn the needs of the plant as well as the meaning of its tool's display.
If you cannot identify the model or find its directions, use a familiar moisture check while you find that information. Do not guess at a depth or leave a tool installed because it looks like another one.
Take a reading without forcing the probe
For a removable probe, start with its own instructions. Check that they cover the growing medium you have. A tool intended for soil is not automatically suitable for coarse orchid bark, water culture or every gritty mix.
- Find the growing pot. If it sits inside a decorative cover, check the inner pot and the mix it actually holds. Look for trapped runoff too.
- Choose a suitable place to check. Use the model's placement and depth guidance. Put the probe in gently. Stop if you meet resistance; pushing harder is not a useful moisture test.
- Read it as directed. Use the stated wait time. Note where you checked, rather than keeping only a number.
- Follow the directions for another reading and removal. The 1820 manual explains that moisture can vary within a pot. One reading may not describe the rest of the mix.
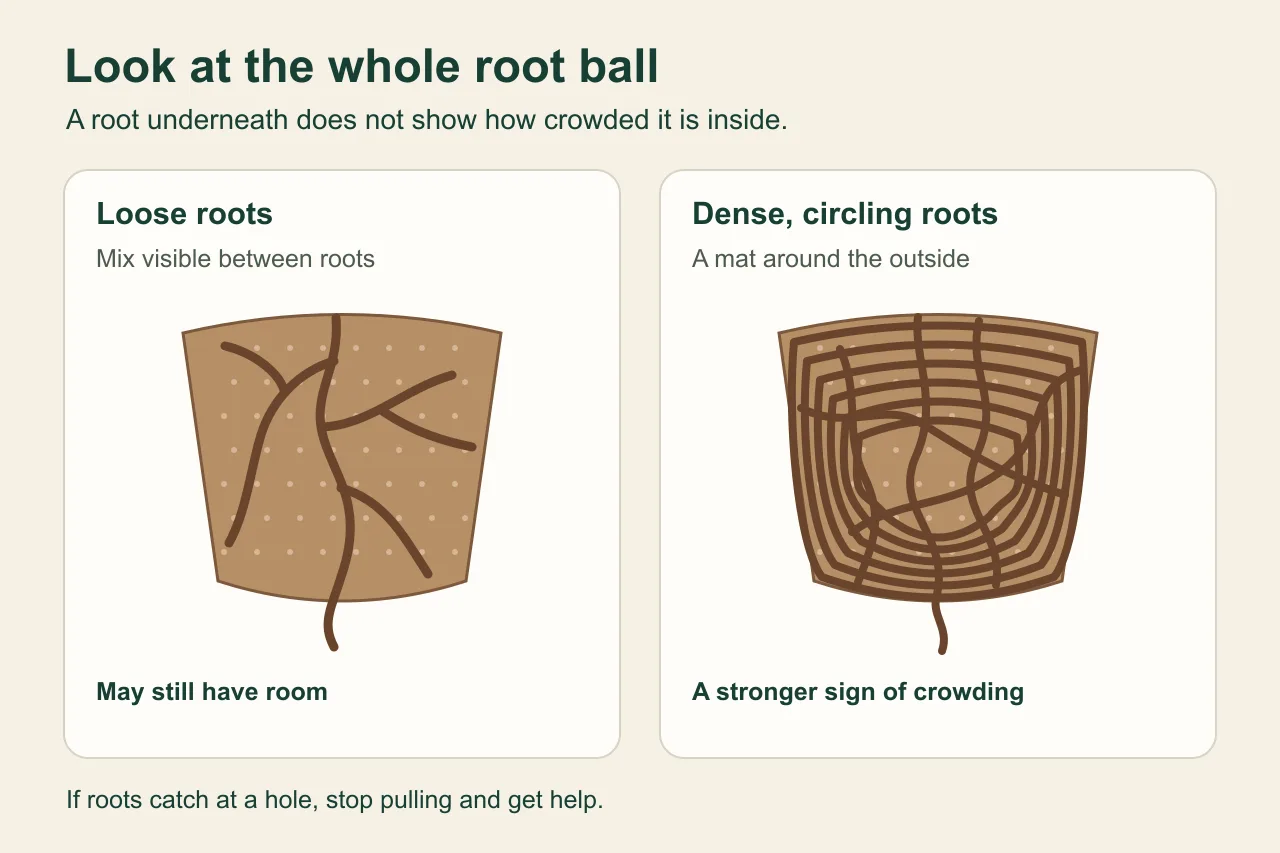
Keep the probe away from stems and do not force it through a tight root mass. If you cannot find a suitable place, pause the test. If crowding is a separate concern, our root-ball inspection guide explains how to check a manageable plant.
Check the pot before deciding to water
Compare the meter with a check that suits the plant and pot:
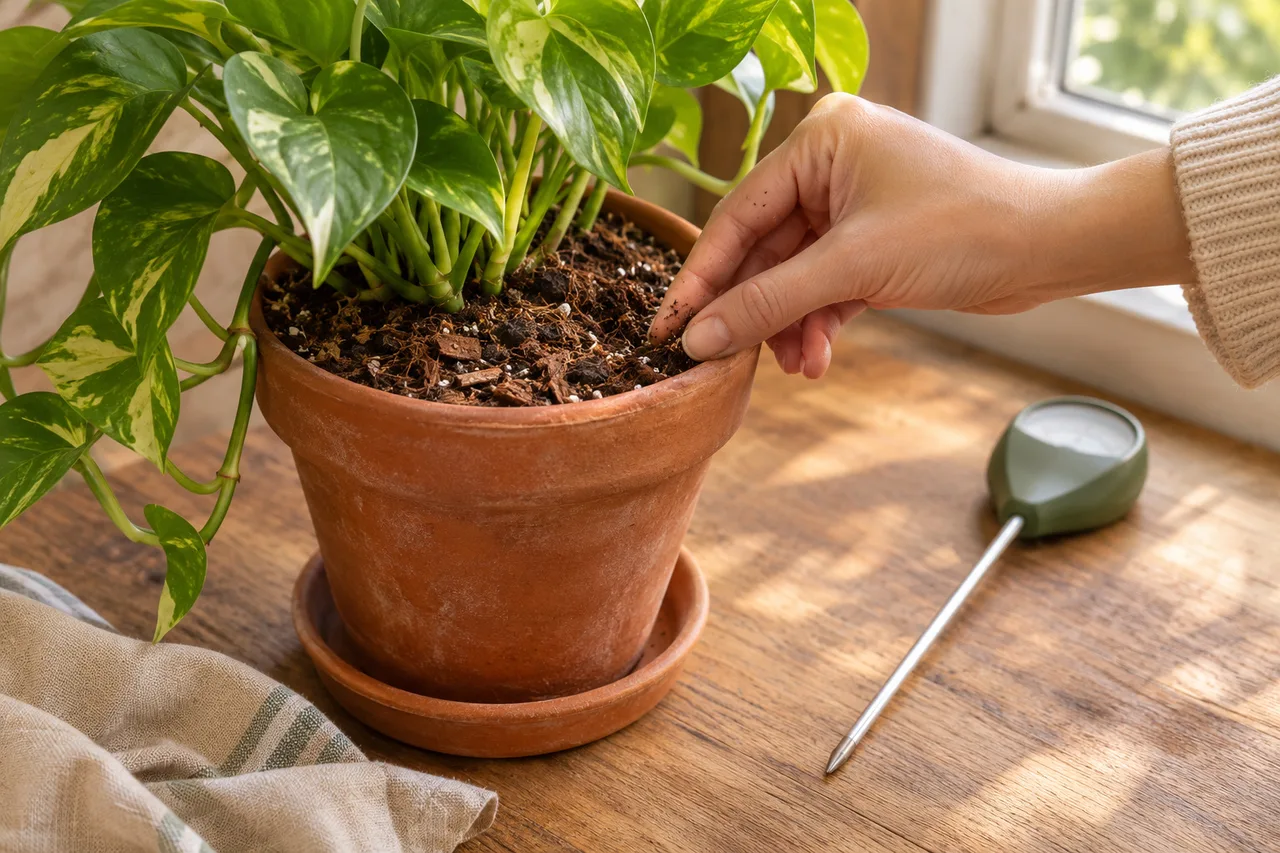
- Feel the mix where that plant's care guidance tells you to check, if you can reach it gently. A dry surface does not describe the whole pot.
- If you can lift it safely, compare that same pot with its familiar weight after watering and draining. A heavy ceramic container and a light plastic one do not share a “dry” weight.
- Review when you last watered, whether water drained, and any change in the plant's light, warmth or growth.
Maryland Extension describes touch and pot-weight changes as useful clues. Iowa State Extension recommends combining observations and explains why watering needs change with the plant and its conditions.
If the checks agree and the plant has reached its known watering cue, use the method suited to that plant and container. Our watering guide covers the wider routine, including drainage. A reminder can prompt another check; it does not set the watering date.
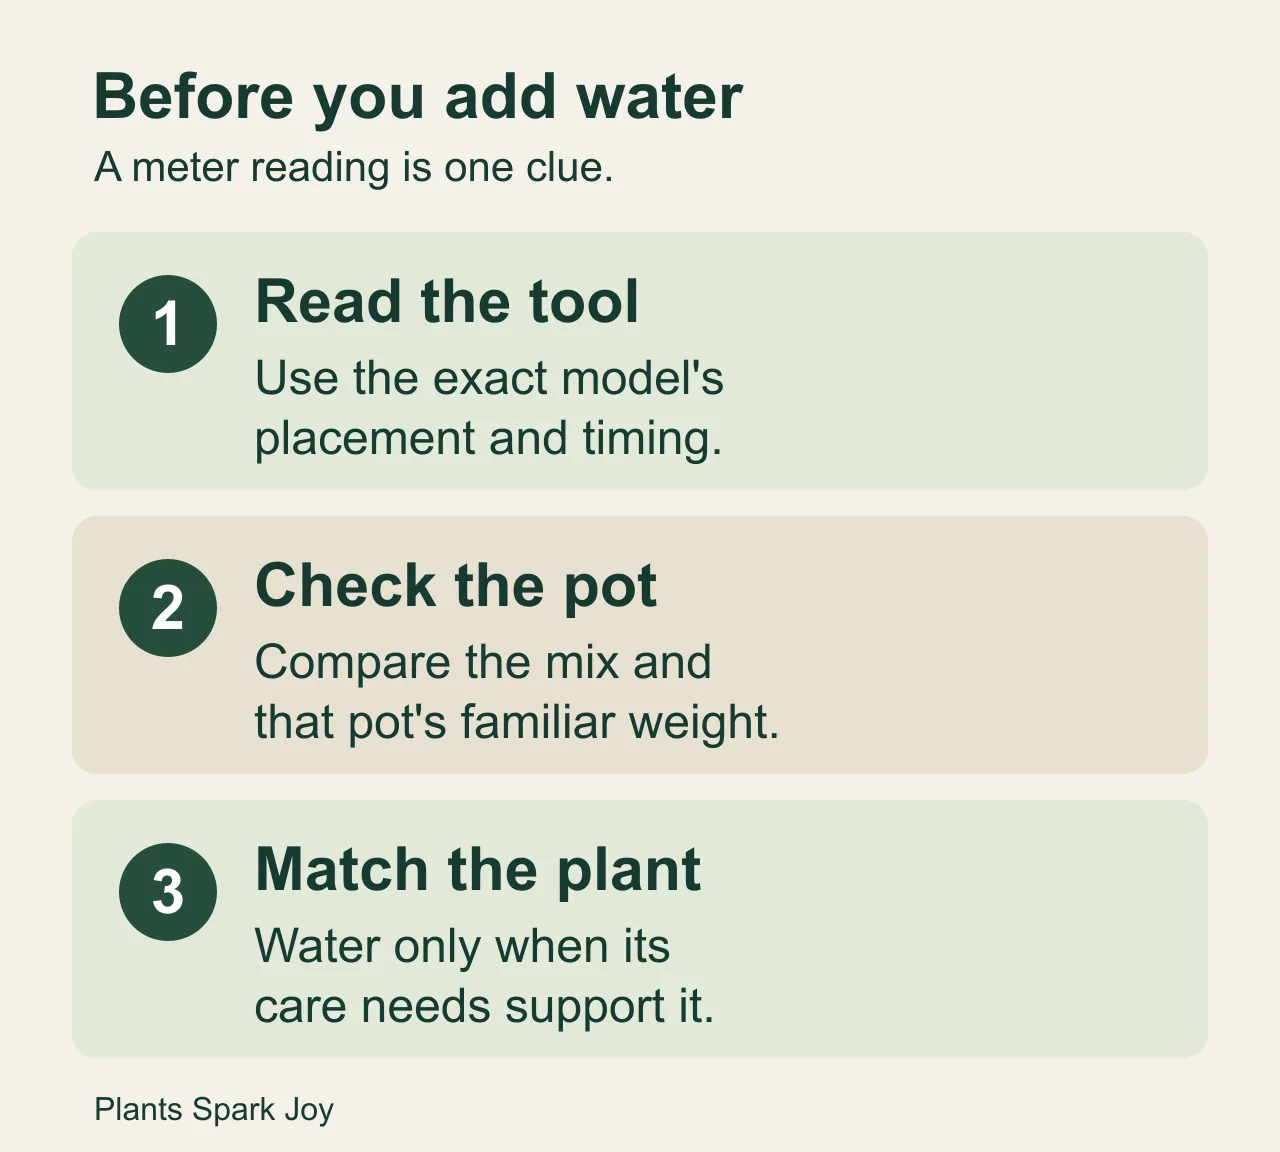
Use the tool, pot and plant together to decide. Compare pot weight only when it is safe to lift. Illustration: Plants Spark Joy.
When the meter and the pot disagree
The meter says dry, but the mix feels damp
Check: Was the probe placed as directed, in a medium it can read? Does the familiar pot weight also suggest water remains?
Next: Pause before watering. Check another suitable spot if the manual calls for it. Review contact, placement and the tool's care instructions. Do not keep pouring until the display changes.
The meter says wet, but the mix seems dry
Check: Are you comparing the surface with a deeper reading? Has the tool been cleaned and used as directed? Is its result at odds with more than one other clue?
Next: Investigate the mismatch. Colorado State University's soil-moisture guidance notes that simple houseplant meters can read wetter in soil with high nutrient or salt levels. That is one possible influence, not a diagnosis of your pot or a reason to flush it automatically. It is not an explanation for every kind of sensor.
The surface is dry, but deeper mix is still damp
Check: What part of the mix does this plant's care guidance ask you to assess? Has the plant reached its own watering cue?
Next: Use that care guidance rather than a surface-only result. Different plants need different drying between waterings. There is no single dial number or dry depth for a mixed collection.
The plant wilts while the mix is wet
Check: Look for runoff in the ordinary saucer or cover pot, working drainage, and recent watering. Wilting can happen with excess water as well as dryness, as Maryland Extension explains.
Next: Do not add water just because the leaves droop. Check the plant's conditions and seek local plant-care advice if it keeps declining. A wet reading alone cannot diagnose root disease.
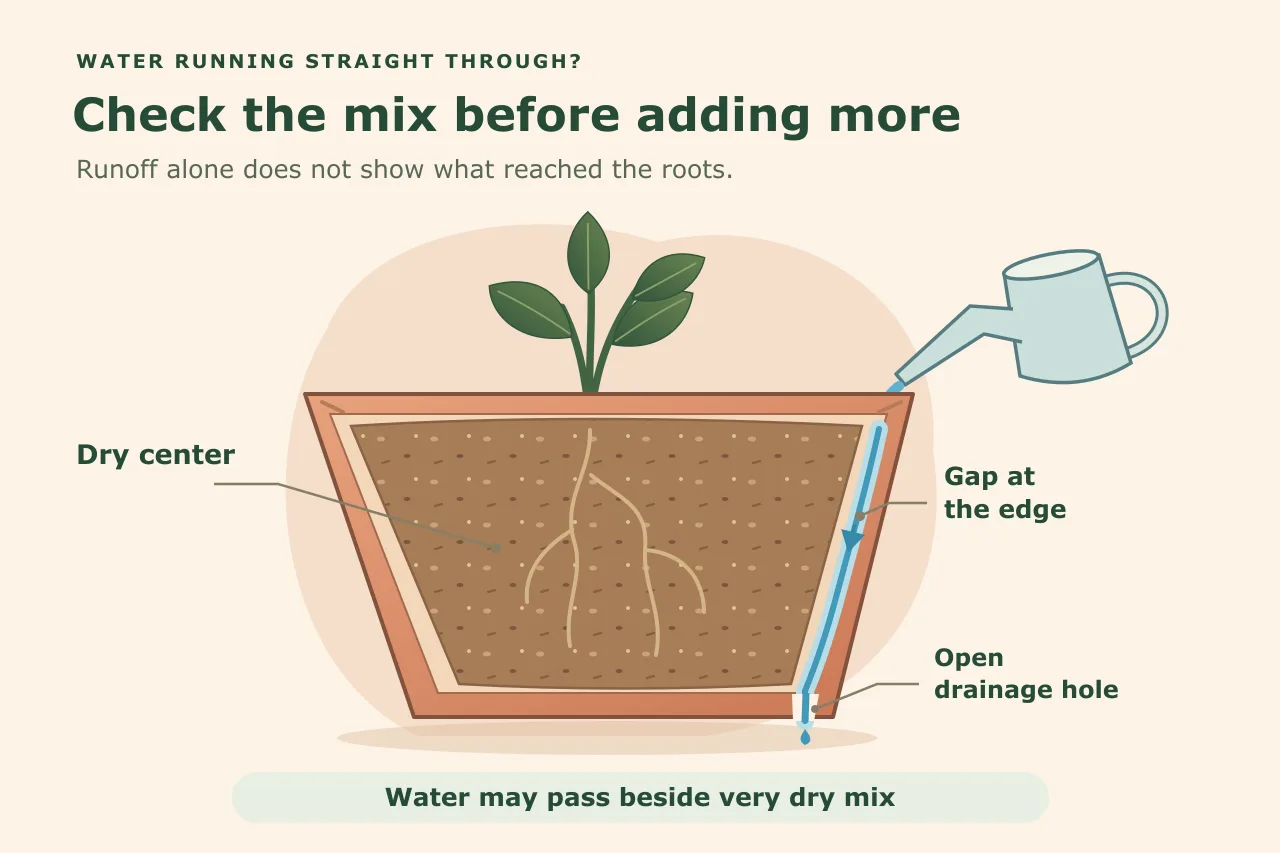
If water runs straight out while the mix stays dry, check whether the water actually soaked in. Iowa State explains that very dry mix can shed water. Our runoff and dry-mix guide covers that problem. A meter cannot tell you a fixed extra amount to add.
Clean and store the tool its own way
For the Rapitest 1820, the manufacturer says to wipe the probe with a soft cloth or tissue between readings and when finished. Remove it by the probe handle, not by tugging its wire. It is made for test readings rather than staying in the soil.
For SUStee, reading it in the pot is part of its intended use. If the response stops making sense, consult the SUStee maintenance FAQ and core-replacement guide. A blocked inlet or worn core can affect its response. Allow the model's response time before assuming it failed.
For any other model, follow its own cleaning and storage directions. Do not copy a soaking, polishing or replacement routine from a different tool.
Keep a short note for that pot
Write down the date, tool model, checking place, reading, other moisture clue and what you did. “No water added” is a useful entry too.
Compare later checks with that history. If the reading repeatedly conflicts with the mix and the plant's needs, use another suitable check while you resolve the tool or setup question. You may be able to make a sound watering decision with the supplies you already have.